


Webmaster Tools
WordPress.com provides you with built-in stats that give you lots of information about your traffic, but if you’re a stats junkie and you can’t get enough info about how people are finding your site, some search engines and social sites offer additional “webmaster tools.”

For example, Google’s Search Console(formerly Webmaster Tools) will give you some additional statistical data about your traffic, such as how many people are arriving at your site through Google queries, what part of the world your traffic is from, and how many visitors landed on each specific post or page. It will also show you the total number of individual URLs on your site that have been indexed by Google, which search keywords are most significant for your site, and other information about how Google is indexing your site.

Please note that verifying your site in order to use the webmaster tools is not necessary in order for your site to be indexed with Google, Bing, or any other search engine. WordPress.com takes care of indexing your site and all of the necessary SEO for you without your having to do anything at all (other than blog)! This is just an extra step you can take if you’d like to gather some additional information on your site traffic that might be of interest to you.

For most sites, in order to verify your site for webmaster tools, you normally need to add a hidden “meta tag” to your page. Since you can’t edit the theme files of your site on WordPress.com, we provide additional tools to make this easier.
If you have multiple domain names pointing to the same site, we recommend verifying the primarydomain.
All of the Site Verification Services can be accessed via your Settings →Traffic screen.

Here are instructions for how to verify your WordPress.com site with each service:

Google Search Console
(if you have a custom domain, you can also verify with Google bysetting custom DNS records)
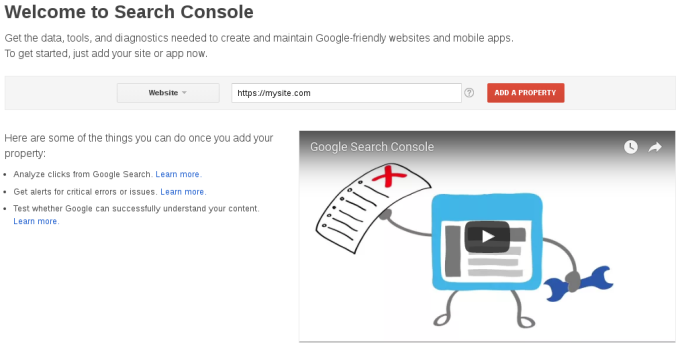
First, login to http://g.co/SearchConsolewith your Google account. At the “Welcome to Search Console” page, enter your blog address (with https:// in front) in the “Website” field.
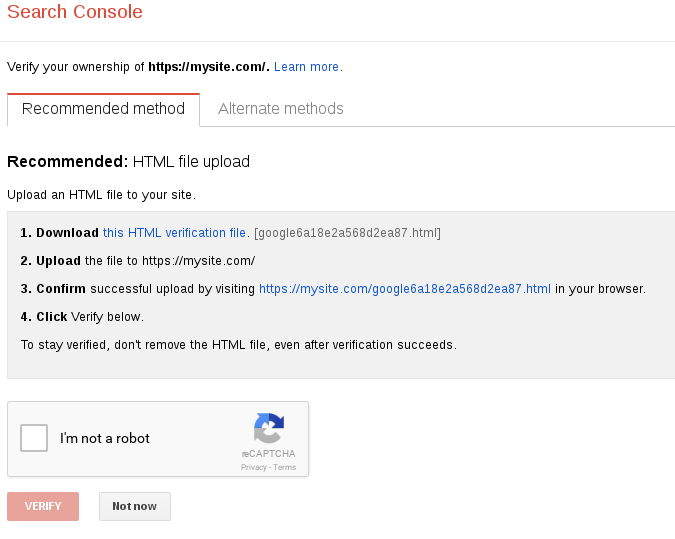
 Next, click the “Add a Property” button. You’ll see two tabs: “Recommended method” and “Alternate methods”. In order to use the Google Search Console with your WordPress.com site, choose “Alternate methods“.
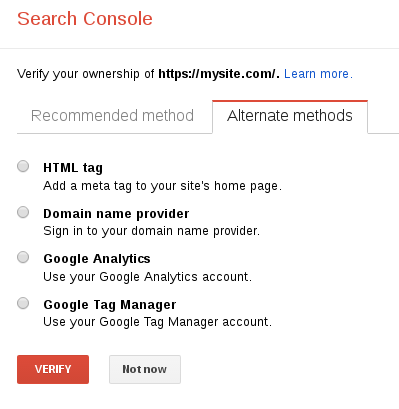
Select the “HTML tag” option to continue.

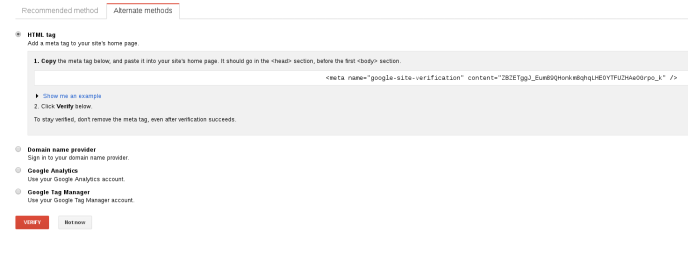
Next, you’ll see a line of HTML code that resembles “<meta name=”google-site-verification” content=”rc2RXSkjV5rz9P2s2hTwdDsnwTu4tD-gmruKUrqBGjs” />. Copy the entire code. Leave the verification page you’re currently viewing open and open your blog’s “Settings” page in a new tab or window.
 Click on the Traffic tab and paste the code you copied into the Google field under the Site Verification Services section. Don’t forget to click Save Settings once you’ve pasted the code.

Return to the Google Search Console verification page and click “Verify“.

Bing Webmaster Center
- Log in to http://www.bing.com/webmasterwith your Live! account.
- Click
Add a Site. - Enter your blog URL in the URL box (example.wordpress.com or example.com)
- Enter the Sitemap URL in the “Add a sitemap” box (example.wordpress.com/sitemap.xml or example.com/sitemap.xml) and click Add.
- Copy the meta tag code that looks like this:
<meta name='msvalidate.01' content='12C1203B5086AECE94EB3A3D9830B2E'> - Leave the verification page open and go to your blog’s Settings page. (in a new tab/window).
- Click on the Traffic tab and paste the code into the Bing field under the Site Verification Services section.
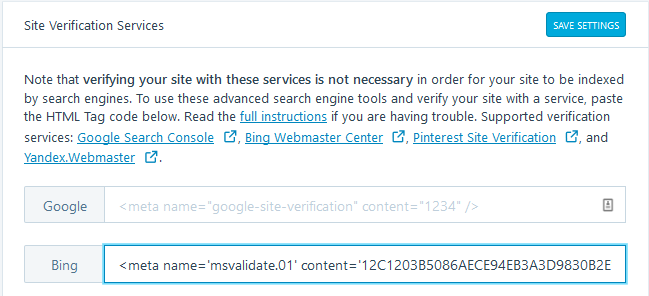
- Click on Save Settings at the top of the Site Verification Settings section.
- Go back to the Bing verification page and click Verify.
Pinterest Site Verification
- Log in at http://pinterest.com/ with your Pinterest account.
- Go to Settings and click on the Profile tab
- Enter your Websiteaddress if you haven’t already.
- Click the Confirm Websitebutton.
- On the next page, copy the meta tag that looks like this:
<meta name="p:domain_verify" content="90b0c9e0e9ce97cc165c42c4663542beb"/> - Leave the verification page open and go to your blog’s Settings page. (in a new tab/window).
- Click on the Traffic tab and paste the code into the Pinterest field under the Site Verification Services section.
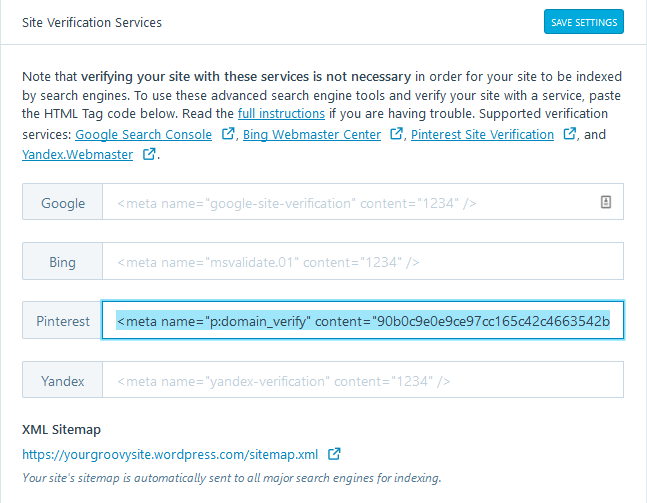
- Click on Save Settings at the top of the Site Verification settings section.
- Go back to the Pinterest verification page and click Finish.
Yandex Site Verification
- Log in or sign up at https://webmaster.yandex.com/.
- Once logged in, click Add site button below the webmasterheadline.
- Scroll down and enter your Websiteaddress (URL) if you haven’t already.
- Click the Add button.
- On the next step (verification), click the tab labelled meta tag
- Copy the meta tag that looks like this:
<meta name='yandex-verification' content='506a386529f57a53' /> - Leave the verification page open and go to your blog’s Settings page. (in a new tab/window).
- Click on the Traffic tab and paste the code into the Yandex field under the Site Verification Services section.
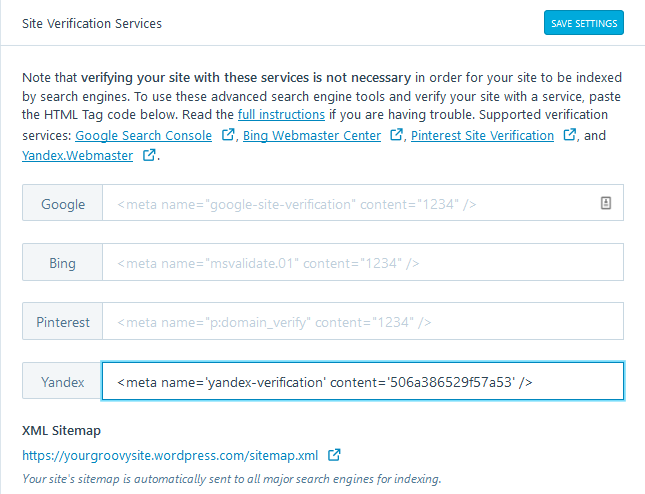
- Click on Save Settings at the top of the Site Verification settings section.
- Go back to the verification page and click the Checkbutton.

